AWS S3 Bucket
Installation
To host a static website using amazon s3. Create an S3 bucket to store your files and AWS provides an S3 endpoint URL to access the files directly in your browser. To use a custom domain S3 integrates with the CloudFront CDN.
- In our application go to File Preferences and choose the Amazon S3 tab
- Select the path to your WebFolder that you wish to synchronise, the name of the bucket that will be created and the path to the AWS CLI application. Use test-settings to confirm AWS access.
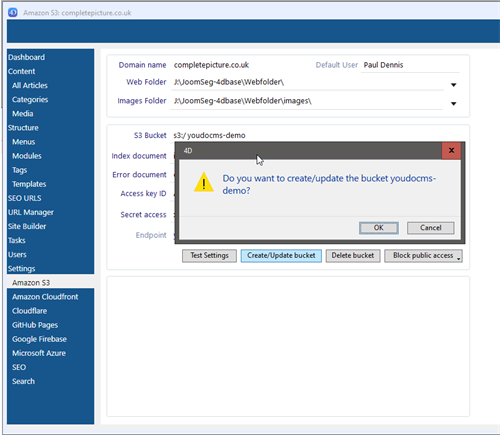
- Enter your access ID and secret key for the user you have set up in the AWS IAM console. Save and then press create bucket. This will call the AWS Node CLI application with your credentials and create bucket within your S3 container.
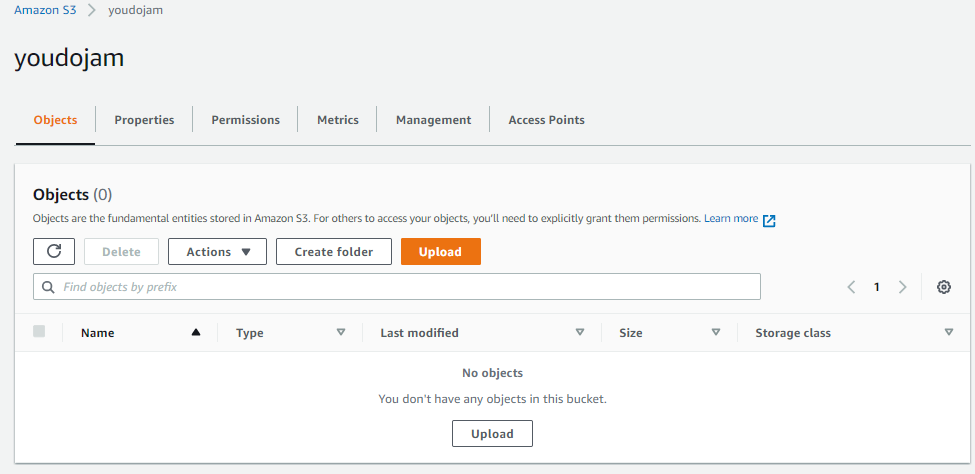
- If the bucket is successfully created you will see the endpoint updated on the preferences screen. After the bucket has been created log onto the AWS S3 console and you should have a bucket in the list. At this stage the bucket will be empty.

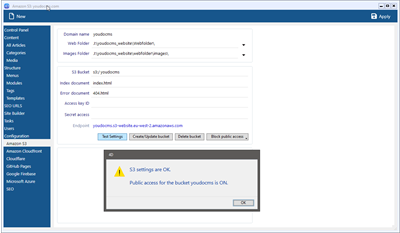
- Make sure the bucket is set to public read only access. Block public access should be off to publish your site.
- The endpoint is the URL of the S3 Bucket. You can use this URL to access static site on the S3 bucket but remember this is not the domain name therefore the CSS and JavaScript files won't load at this stage.
- On the preferences page there is a test settings button to check that the Amazon CLI program can access the bucket and return the public read-only permission.
- The create/update bucket button updates the settings on your S3 account, for example if you wanted to use a new bucket. It does not synchronise or upload the files.