Installation
Installation
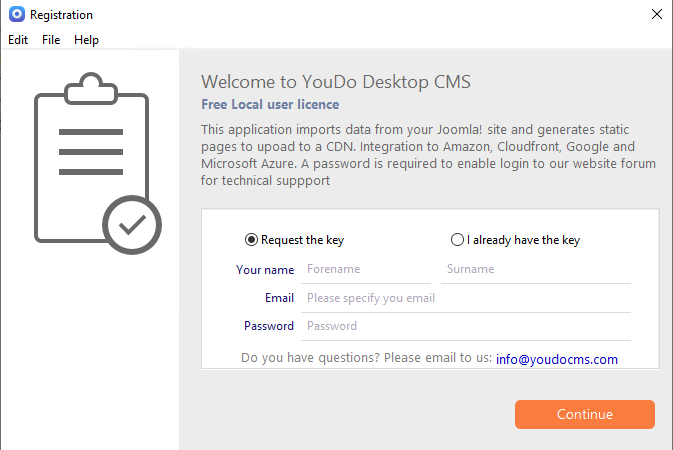
Register
To use the free version of the software you need to register with your email address. Our server will respond with the code sent to your email. Enter the code and this will enable software. After registration you will be presented with the domain setup screen. The default installation includes an empty domain which you can use if you are not importing from Joomla! or WordPress. If you intend to import from your CMS choose create new domain.
Create Domain
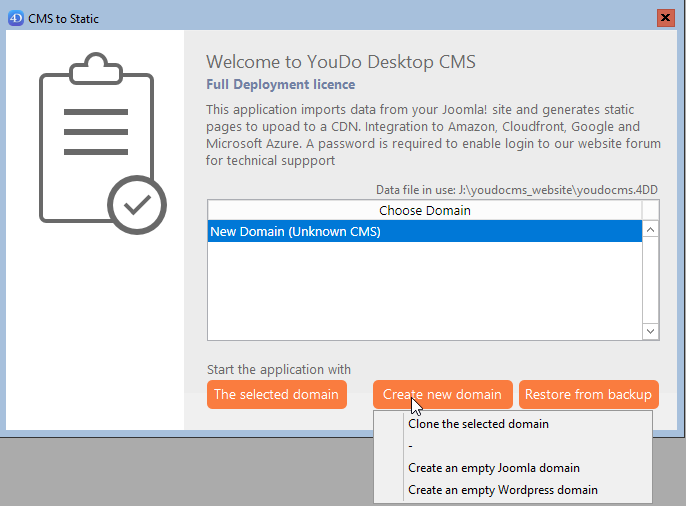
After registration you will be presented with the domain setup screen. The default installation includes 3 examples each with a different bootstrap template. If you are not importing from Joomla! or WordPress, choose an example. If you intend to import from your CMS choose create new domain. A new domain is created matching the content management system of your choice. The domain settings page is displayed to set up your site.
Setup Domain
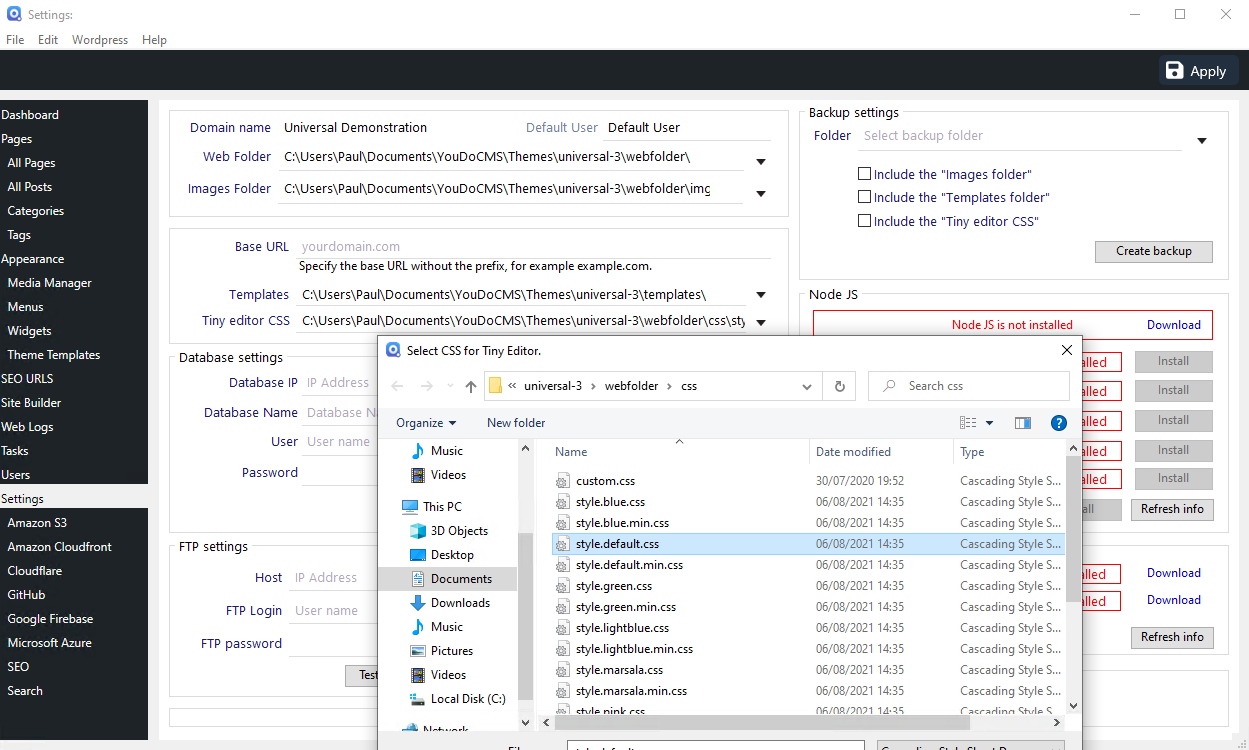
A new domain is created matching the content management system of your choice. The domain settings page is displayed to set up your site. Each website you create requires a default root folder on your local computer to store the files prior to uploading to the cloud. By defualt the root folder is in the user documents folder.
- The defualt path is My Documents/YouDoCMS/Themes/Name-of-theme/webfolder
- The webfolder is used to build you your site and is deployed to the cloud.
- The images folder is the defualt used by the media manager. The default is webfolder/images or webfolder/img.
- The templates folder contains the templates for the theme and usually at same level as webfolder i.e. My Documents/YouDoCMS/Themes/Name-of-theme/templates.
- TinyMCS CSS folder selects the css file to use for the editor. Default is webfolder/css/
TinyMCE and Images
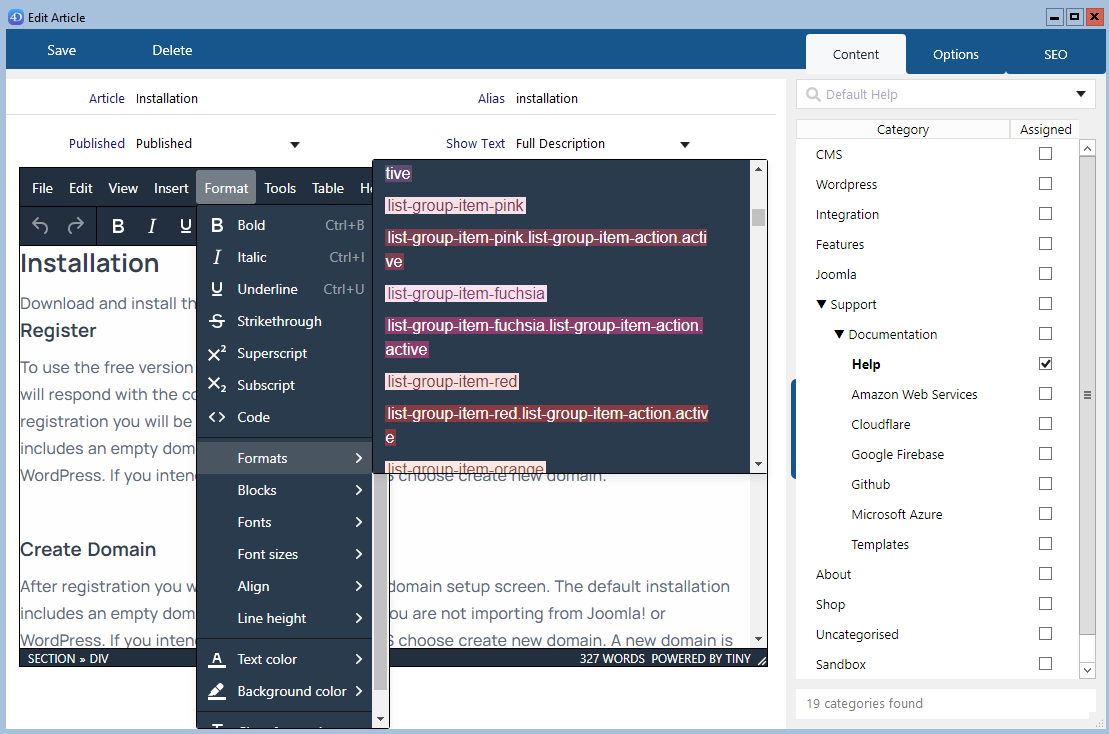
If you are importing from your content management system or you have an HTML template you're going to use enter the path within your template's folder for the tinyMCE stylesheet to ensure consistent editing. The images folder is used by the media manager to edit images and create thumbnails.For example
c:\myproject\templates\css\styles.css Default TinyMCE stylesheet
c:\myproject\webfolder\images Site Images used by Media Manager
See CMS Settings to import a Joomla or WordPress site.
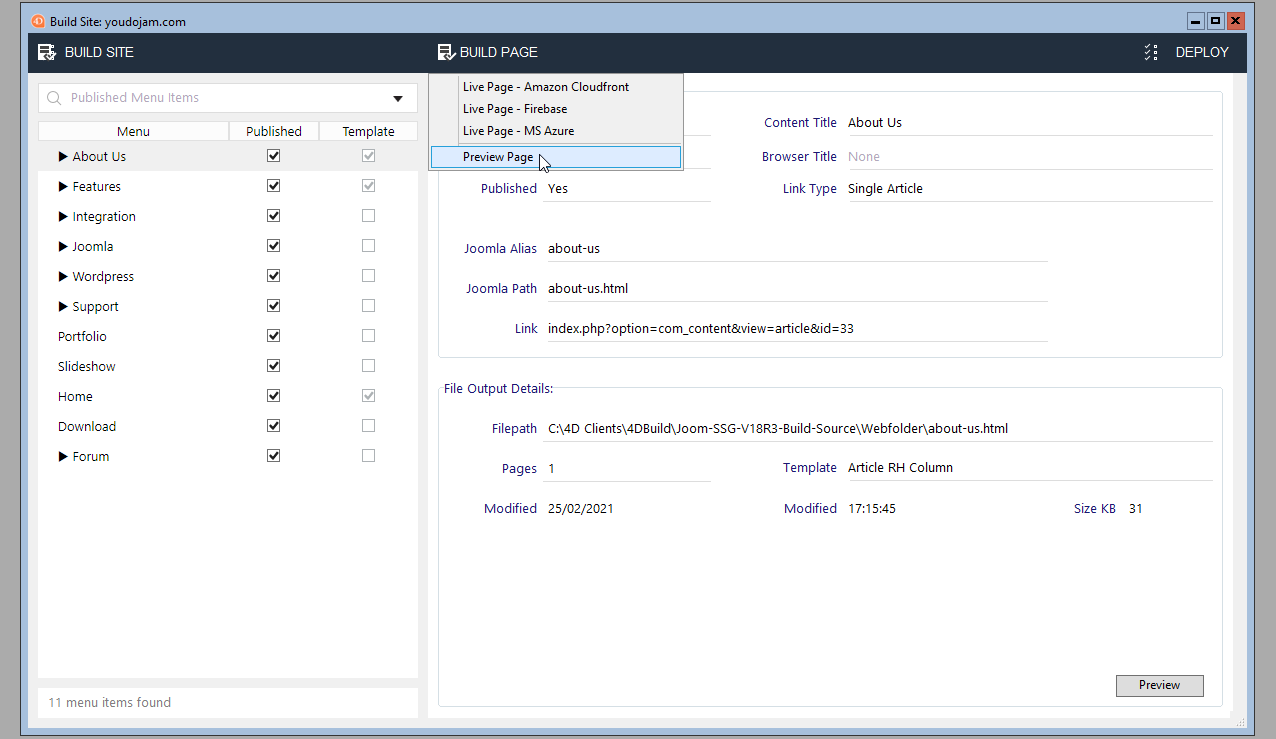
Build Site
After setting up the file paths for an example websites and saving using the "Apply" button navigate to the site builder page. From the build site button choose local preview and this will build the site and create the HTML files in the WebFolder. The list of processed files is displayed on the screen. Click on a file and this will open your local browser display the page.
Multiple Sites
Each website requires individual settings to store the templates and site content on your local computer. To create another new website or switch to a project from the File menu choose File - Switch Domain which will display the splash screen and enable you to select a different site. To delete a site you can access the splash screen and right click the site provided this is not the current active site. The current active site is the one highlighted in bold.
