Cloudflare Pages
Cloudflare Pages Setup
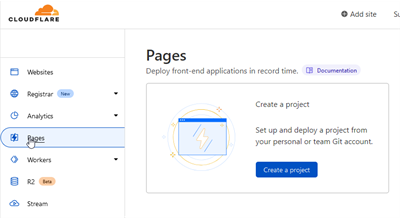
- Register and create an account with Cloudflare. Choose Pages from sidebar and create project
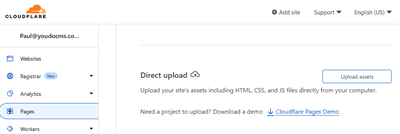
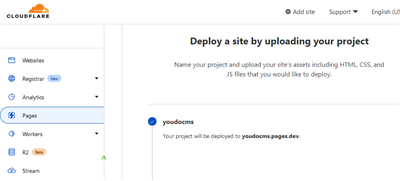
- YouDoCMS supports the direct upload method for integration with Cloudflare. This means you do not incur build fees on github and you can upload your site directly from your local computer. Choose upload files to create a direct upload project.
- Finally name your project typically with the domain name for your site without the .com suffix.

- The project will be created and you can now set up the access token for permission to upload the files..
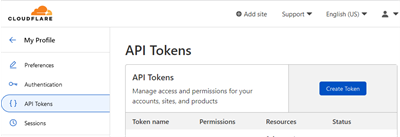
- To create the access token go to your profile in your Cloudflare account settings and choose API tokens.
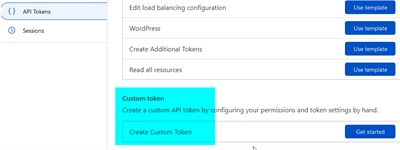
- For Cloudflare pages you need to create a custom token type. Do not use one of the template's as the these are for Cloudflare workers.
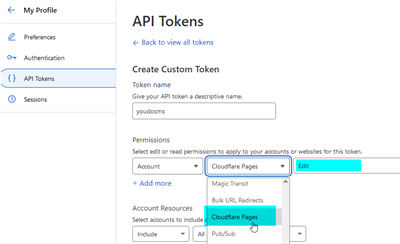
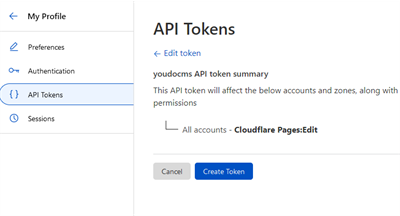
- For a custom token create the following permissions. For an account choose the token type as Cloudflare pages and the permission as edit. This will create a token to upload the files to your site using this account.
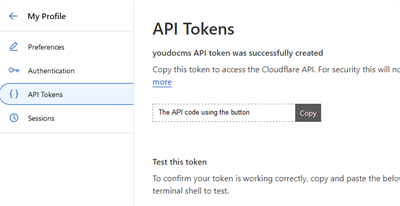
- Scroll to the bottom of the page to save the settings and the token will be created.
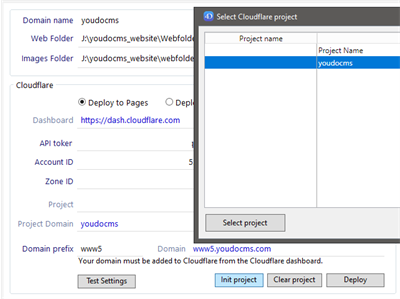
- Lastly copy the token code and paste this into YouDoCMS - settings - Cloudflare . You cannot retrieve this code after you have left this web page so it's important to save this somewhere safe.
- Save the code on our settings page with your Cloudflare account ID. Choose apply to save the settings. Then choose any project and YouDoCMS will connect the Cloudflare and you can choose the project you have just created.